
How to configure SilverFast..
We recently bought a Reflecta RPS 7200 scanner. One strong reason in favour of this scanner is it's capability to scan sequences of negatives. Note that this feature will not allow us to reduce the total amount of scanning time. However, it will make the workflow very different, i.e., instead of having to interact with the scanner before each scan we have a (longer) configuration period before a batch scan. Given that the scan of one image (with decent resolution) takes about four minutes, we will have a waiting time of about 16 minutes instead of four times four minutes.
Following the review from the filmscanner people, we have to say that the software bundled with the scanner is not up to its task. Consequently, if you think about buying the RPS 7200, consider that you will probably have to buy SilverFast Ai (as with SilverFast SE you will not be able to use the batch scan functionality), which adds about 220€ to the overall price.
Correction of Scratches..
Let us start with the general settings. We have to admit that we do not really understand the UI design of SilverFast. One setting that is quite obvious to be enabled is the ICE (correction of scratches). We can activate it by clicking the «iSDR» button.
Resolution..
One very important setting is the resolution at which we want to scan our negatives. We experimented with a Kodak Gold (ISO 200) and scanned it with 3600dpi as well as 7200dpi. Let us look at the result:

Image scanned at 3600dpi.

Image scanned at 7200dpi.
Filters..

Image scanned at 7200dpi using no filters.

Image scanned at 7200dpi using Gane.
Multi Exposure..
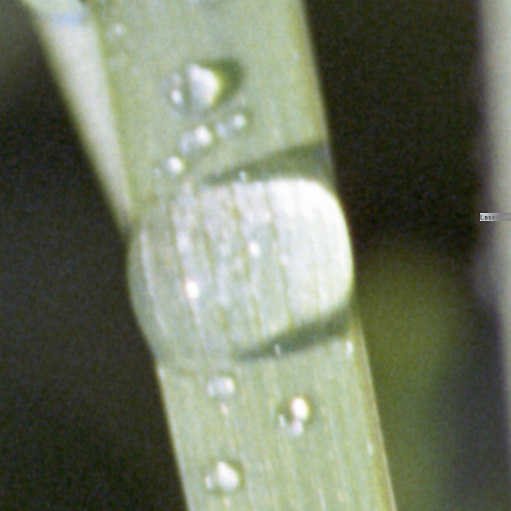
Image scanned at 3600dpi.
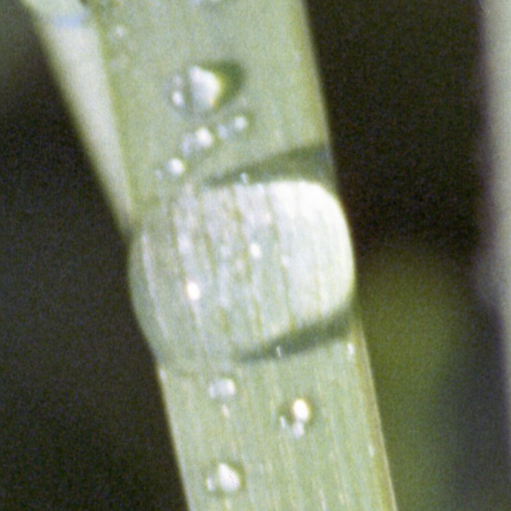
Image scanned with multi exposure.
Multiple Scans..
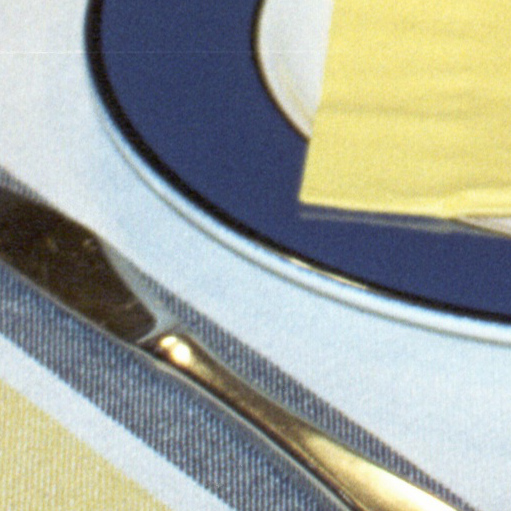
Image scanned at 3600dpi.
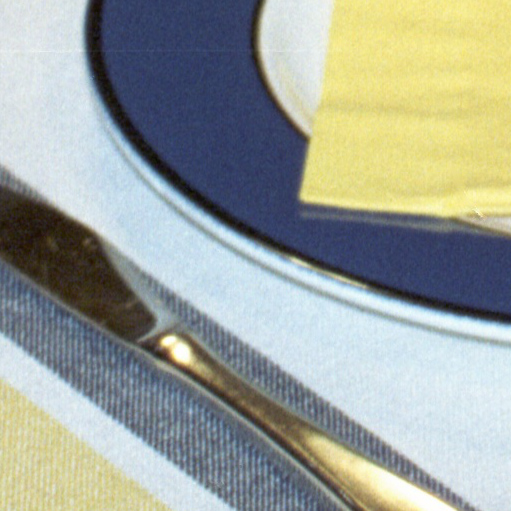
Image scanned four times at 3600dpi.
Image scanned with multi exposure.